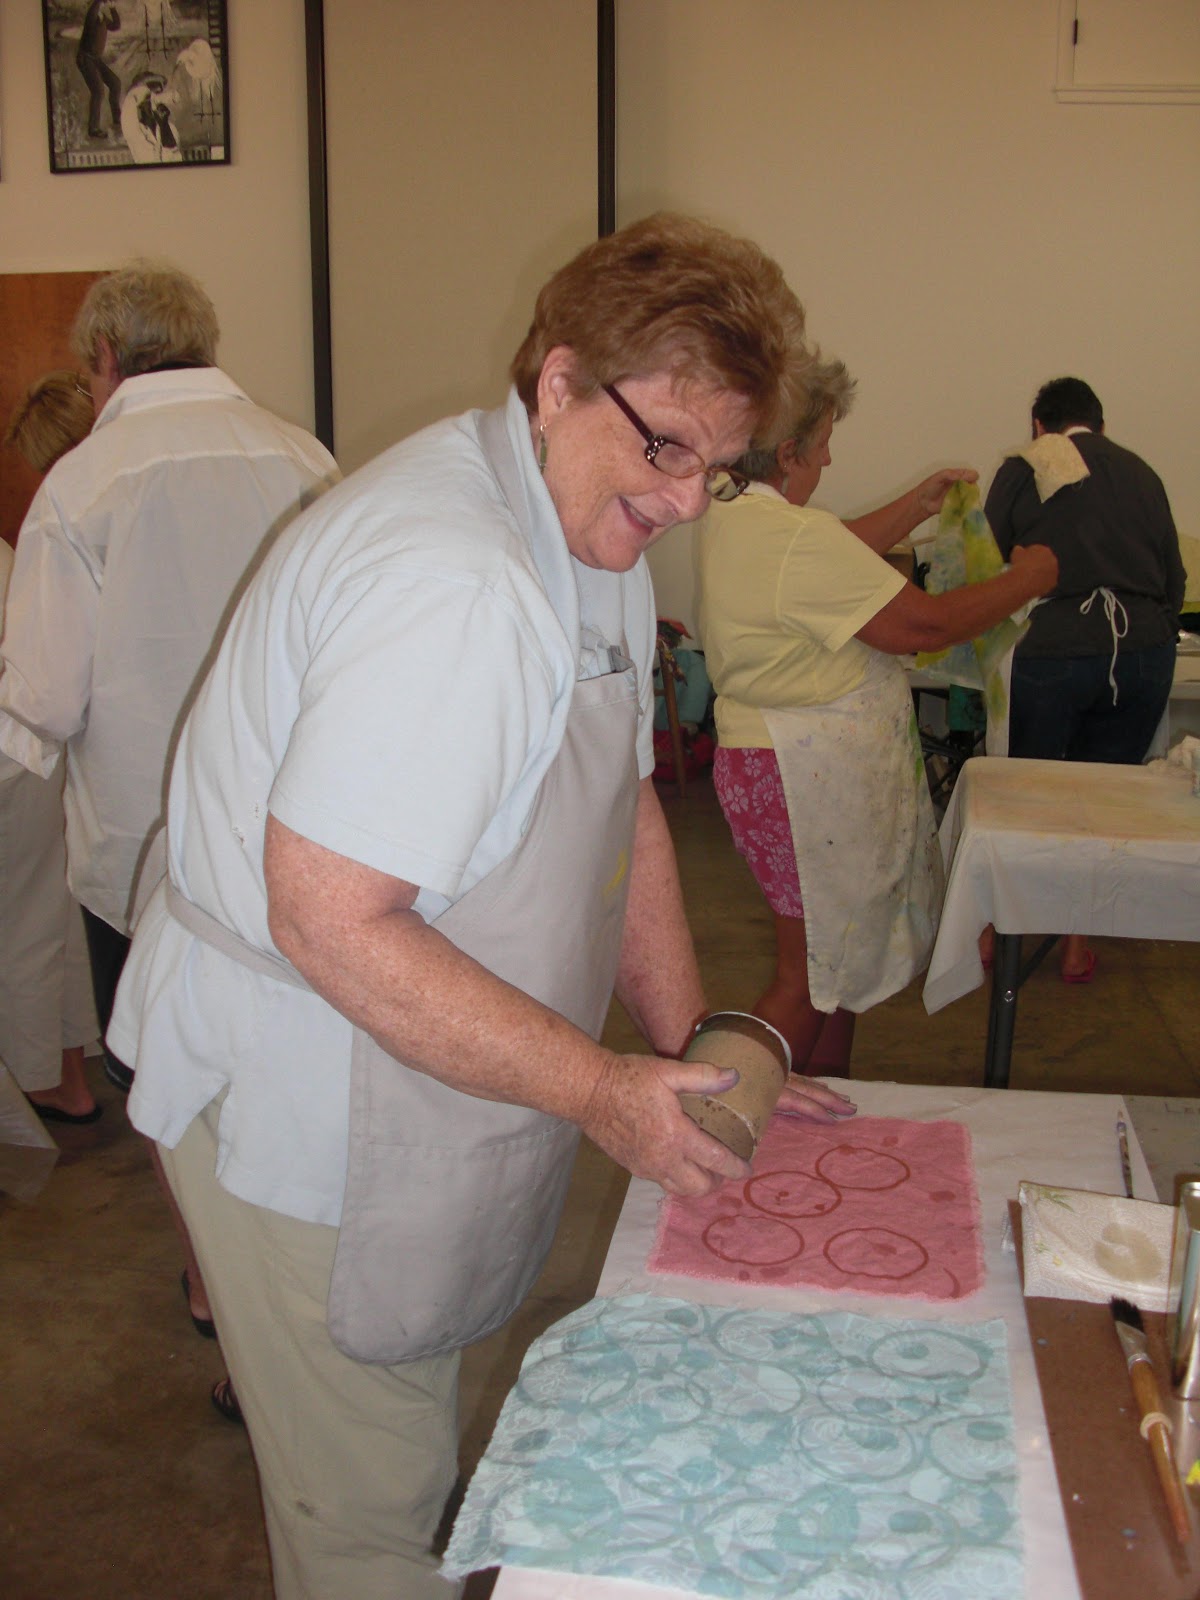
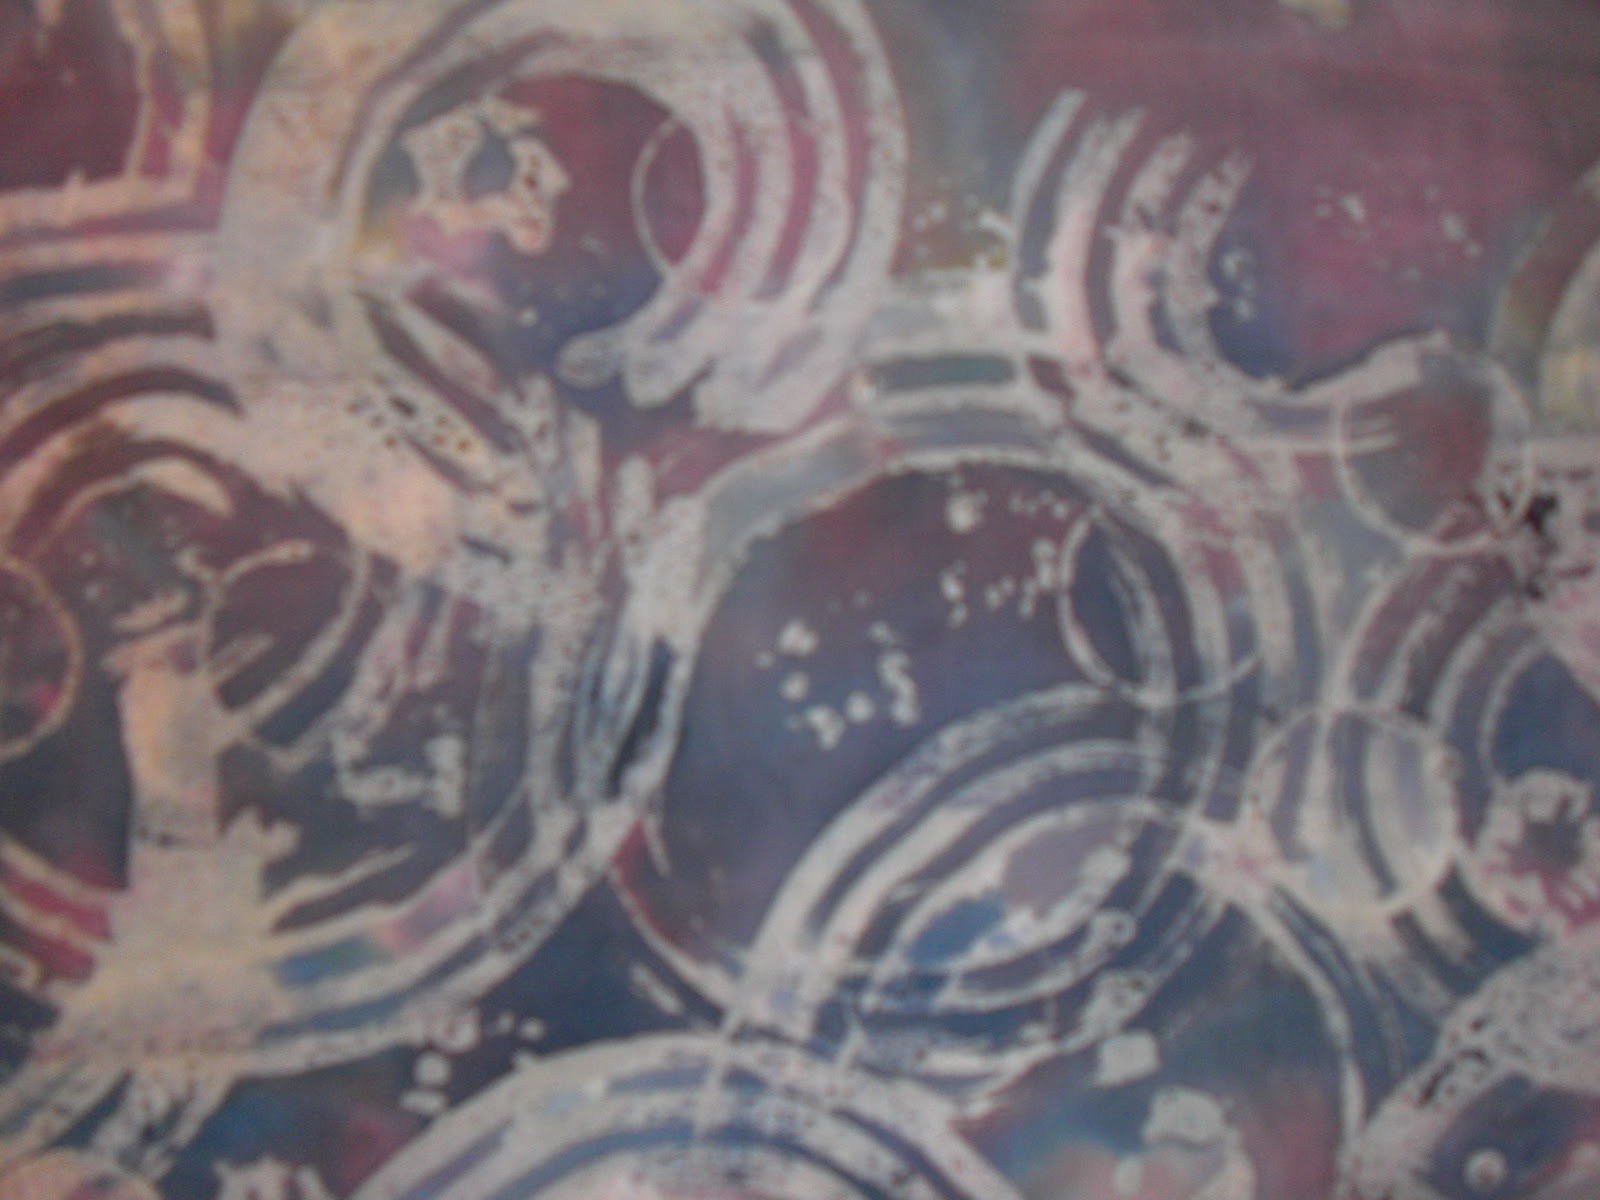
Nancy and I played for hours with soy wax batik. I've had the supplies for years and never made the time to experiment. Nancy is a wonderful artist to experiment with. She's an inspiration. Here are some images: Nancy and our setup and a bunch of fabrics - the wax is still on them. I will wash the wax out as soon as I'm done here.
I waxed the same motifs down the whole cloth. Then painted yellow. Waxed again, once the paint was dried. Then added red and blue paints. When dried, I waxed again and then painted with black. I used the same brayer throughout, not washing between colors. I love it. To wax, I used a potato masher, splattered dots with the tjanting, and chip brush.
The bottom left is the interfacing I first waxed, then painted 2 coats of orange acrylic. Once thoroughly dried, I washed out the wax using hot water. I attached the "stencil" to the back of a silk screen with masking tape and printed with fabric paints. The stencil is suppose to last a long while. Oh, I used the tjanting.
I used a shell, child's foam paint tool (looks like a flower), handmade rope stamp, a wood block that had nails hammered in. The next image is a closeup of the shell.
The next one is stamped using 3 cookie cutters that I held together with tweezers.
The following print I used a corrugated cardboard rolled up and rubberbanded.
I was playing around with the tjanting tool. There's a long learning curve with this. I will practice, practice, practice. I want to write with it.
The following was printed using a foam brush that I cut triangles out of the end. I used the rolled up cardboard again.
I used the end of a small piece of wood and the dots from the tjanting.
This is addictive. I had the most fun. I will batik again and again and again.
Now, I will wash out the wax. I hope the colors stay the same.